Mastering Data Gathering with Metasploit: A Comprehensive Guide
Written on
Chapter 1: Introduction to Metasploit
Metasploit stands out as one of the premier platforms for gathering data, serving as a versatile tool for penetration testing. In this guide, we will delve into various information-gathering strategies utilizing Metasploit.
To kick off, let’s launch the msfconsole and set up a new workspace. Input “workspace –h” to access the help menu and review the options for creating a workspace.
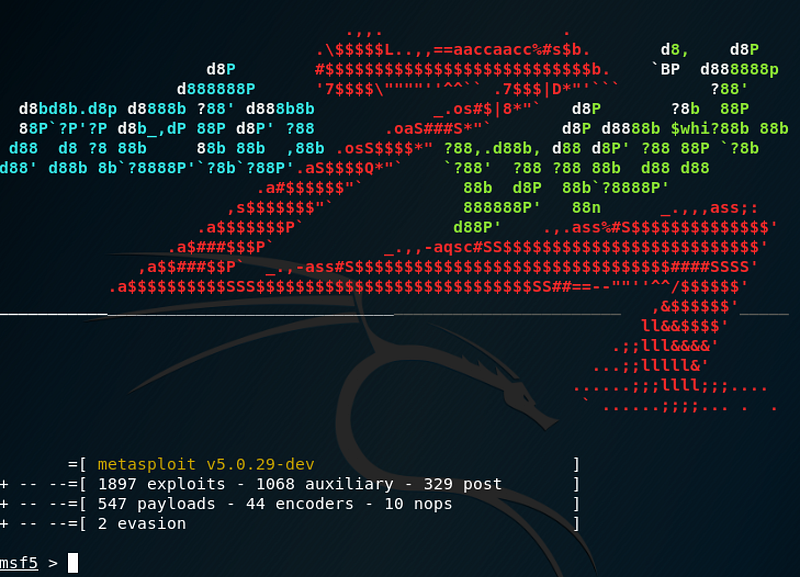
To create a new workspace, utilize the “-a” option and indicate the desired name. For example, type (msf5 > workspace -a NetworkEnum). Upon pressing “Enter,” you will switch from the default workspace to the new one you specified.

Section 1.1: Utilizing the Nmap Database
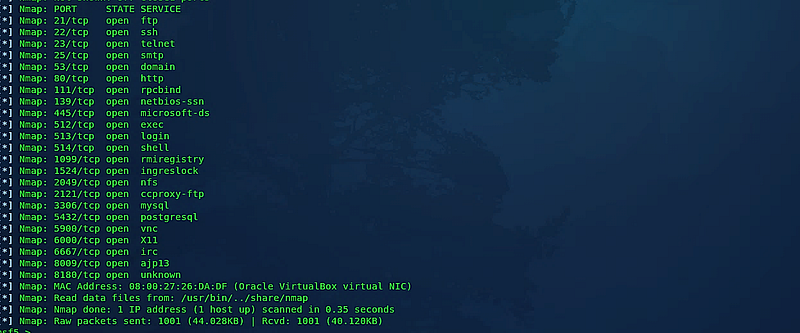
Once your workspace is established, you can begin employing scanning techniques with the Nmap database. Start by listing the help menu for the database to explore available options. Use the command (msf5 > db_nmap –h).

To execute a standard Nmap scan, type “db_nmap” followed by the target IP address. For instance, (msf5 > db_nmap -v 10.10.10.7). This will yield the results of a typical scan as discussed in the Nmap section.

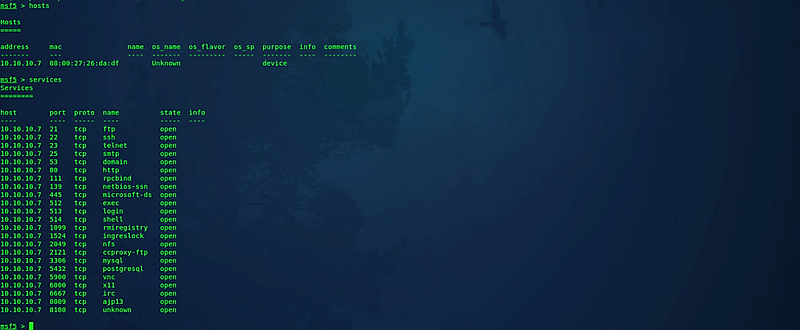
To retrieve the hostname and the services running on it, employ the following commands: (msf5 > hosts) and (msf5 > services).
Section 1.2: Conducting Port Scans
You can also carry out port scans using built-in auxiliaries within msfconsole. Use the “search” command to find a specific module related to port scanning. For example, (msf5 > search portscan).
In this scenario, we will utilize a TCP port scanner. To select this module, type the “use” command followed by the module name: (msf5 > use auxiliary/scanner/portscan/tcp). Next, check all available options necessary for an accurate scan by typing “show options.”

Set the target host IP or a range of IP addresses using the command: (msf5 auxiliary(scanner/portscan/tcp) > set RHOSTS 10.10.10.7). Specify the port range to scan with the command: (msf5 auxiliary(scanner/portscan/tcp) > set PORTS 1–1024). Additionally, configure the number of concurrent ports to check per host: (msf5 auxiliary(scanner/portscan/tcp) > set CONCURRENCY 50). Finally, execute the scan by typing “run.”

Chapter 2: Enumeration Techniques
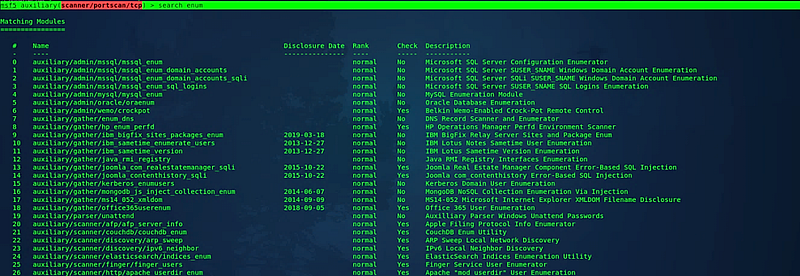
Now, let's explore enumeration techniques. Begin by searching for enumeration modules using (msf5 auxiliary(scanner/portscan/tcp) > search enum). This will display all available enumeration modules.

If you are scanning machines that utilize Secure Shell (SSH), it’s essential to determine which version is in use. While SSH is a secure protocol, various implementations have known vulnerabilities. To check the SSH version running on the target server, use the “auxiliary/scanner/ssh/ssh_version” module.
Next, review all options and set the target host’s IP address using: (msf5 auxiliary(scanner/ssh/ssh_version) > set RHOSTS 10.10.10.7). Then execute the enumeration process by typing “run.”
Let’s conduct another enumeration. Knowing that the target device operates on port 80 (HTTP), we can discover its version using the “auxiliary/scanner/http/http_version” module. Set the target host’s IP address and initiate the enumeration.

In certain situations, executing noisy Nmap scans directly on a target might not be feasible. This could be due to various reasons, including conducting a black-box test for a client or the presence of firewalls or intrusion detection systems that might alert administrators. Therefore, integrating two effective penetration testing methods becomes a more practical approach.