Soaring High in a DIY Parachute Adventure
Written on
Chapter 1: Creating Sammy the Skydiver
In my attempt to craft something delightful, I often find myself struggling to match the artistic finesse of creators like Amanda Laughtland. Instead, I tend to gather various random items and unleash my inner child. My projects usually involve throwing something from a height, a pastime my mom would have disapproved of in my youth. Yet, I take pride in my whimsical inventions. My latest creation for the DIY challenge is Sammy the Skydiver.
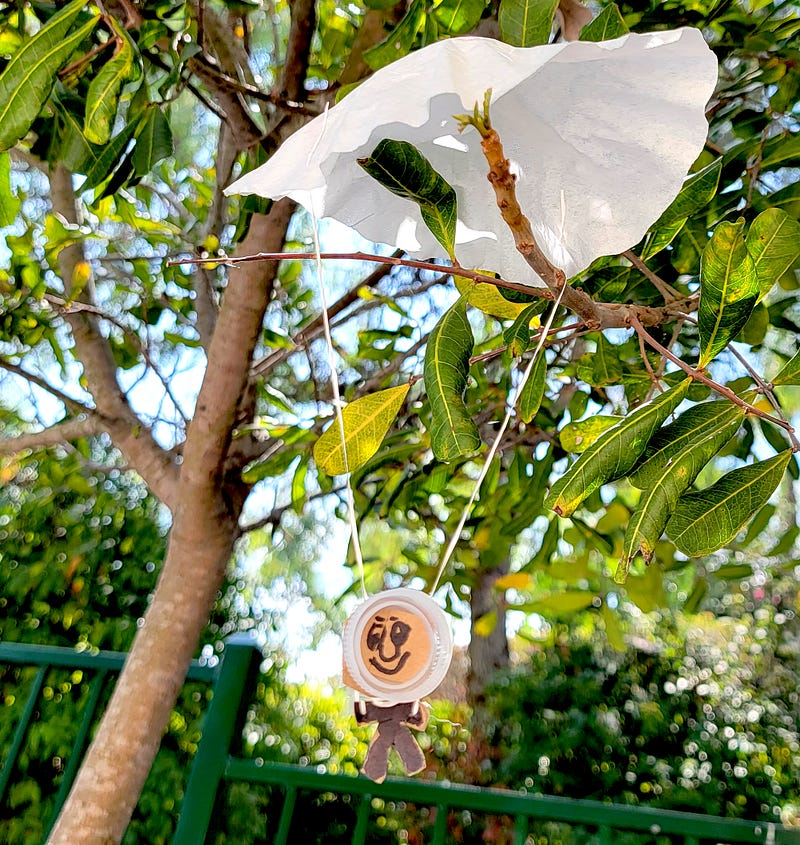
When Amanda mentioned using a coffee filter, I initially thought about employing it for decoration. However, after watching it drift softly to the ground upon an accidental drop, I was inspired. This parachute project is perfect for children, as it combines fun with fundamental scientific principles such as gravity and drag force. It effectively demonstrates the balance between these forces, showing that while gravity ultimately prevails, air resistance can slow down falling objects—much like a real parachute.
Moreover, Sammy is incredibly charming and can be personalized to your liking. If you have more craft supplies than those specified in this challenge, I highly recommend adding googly eyes for extra flair. For my project, I utilized the four required items: a coffee filter, a toilet paper roll, a bottle cap, and a paper clip (used merely as a tool). Additionally, I incorporated unwaxed dental floss as my own extra item, along with glue and a marker as the “free items.”
Instructions:
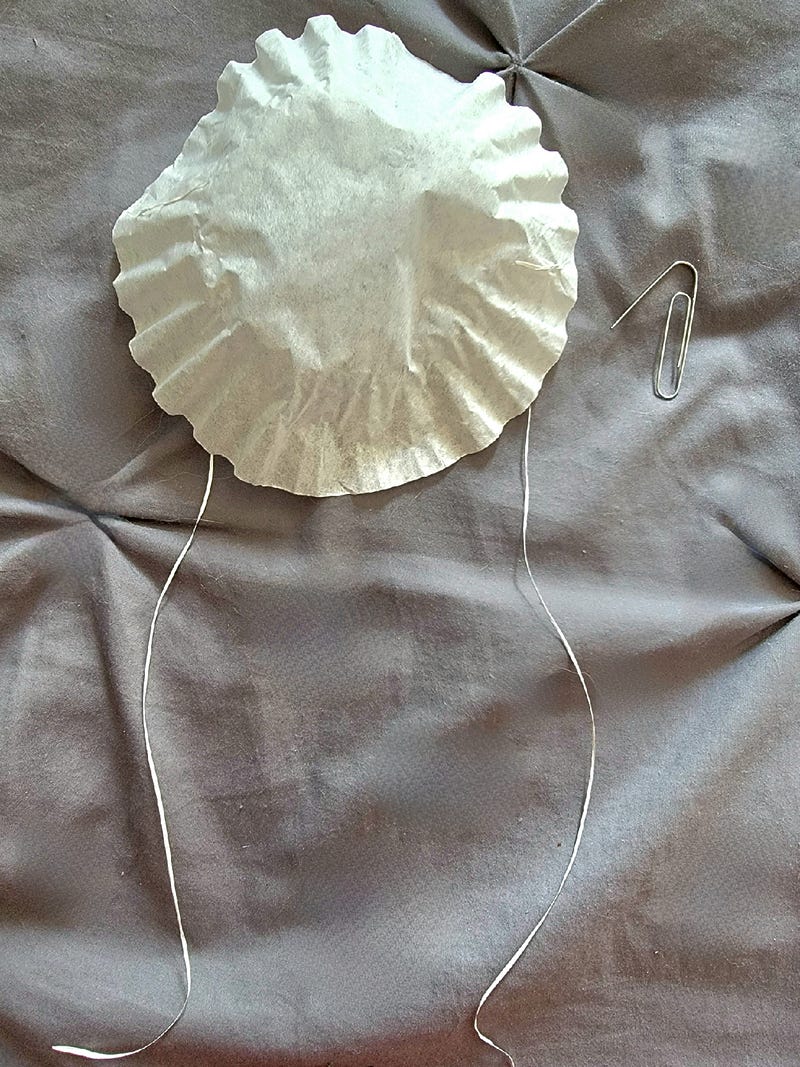
I started with a small coffee filter from my portable Mr. Coffee machine; these filters tend to work better than the cone-shaped ones I initially planned to use. I folded the filter in half and, using the paper clip, created small holes on each side. Then, I cut two 5-inch lengths of unwaxed dental floss, threaded them through the holes, and secured them with a knot atop the filter.
Next, I took my toilet paper roll, trimmed about two inches off one end, and flattened it. I traced Sammy's outline—my drawing skills transformed him into a quirky gingerbread figure—and cut along the lines. To give him a head, I used a plastic bottle cap instead of cardboard, cutting out a small round piece of cardboard to form his face.
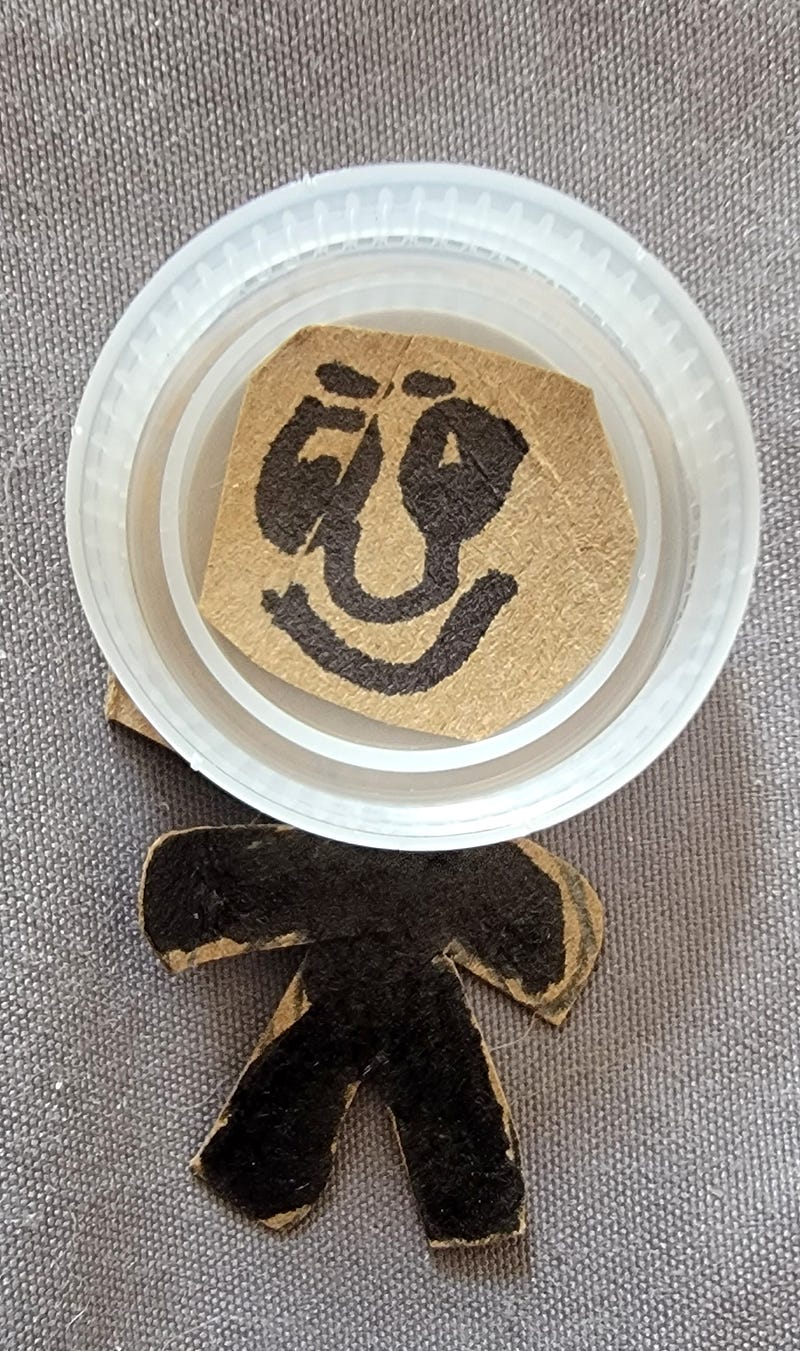
Using the paper clip again, I made holes in each arm and threaded the other ends of the floss through these holes, tying them at the back. Note: The weight of the bottle cap caused Sammy to flip, an issue that could be resolved with an all-cardboard design. To stabilize the head, I wrapped the floss around the bottle cap and secured it with glue on each side.
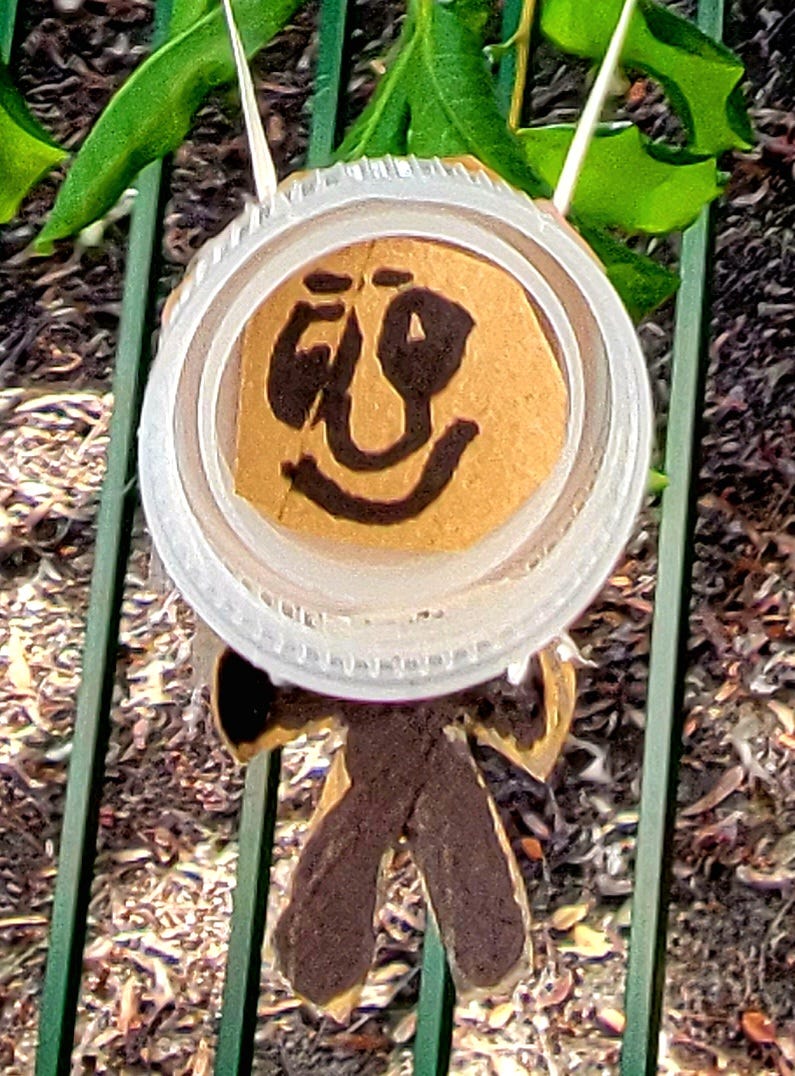
Once you get accustomed to tossing Sammy into the air, consider crafting a more stable version using tape or lighter materials like pipe cleaners or straws for his body.
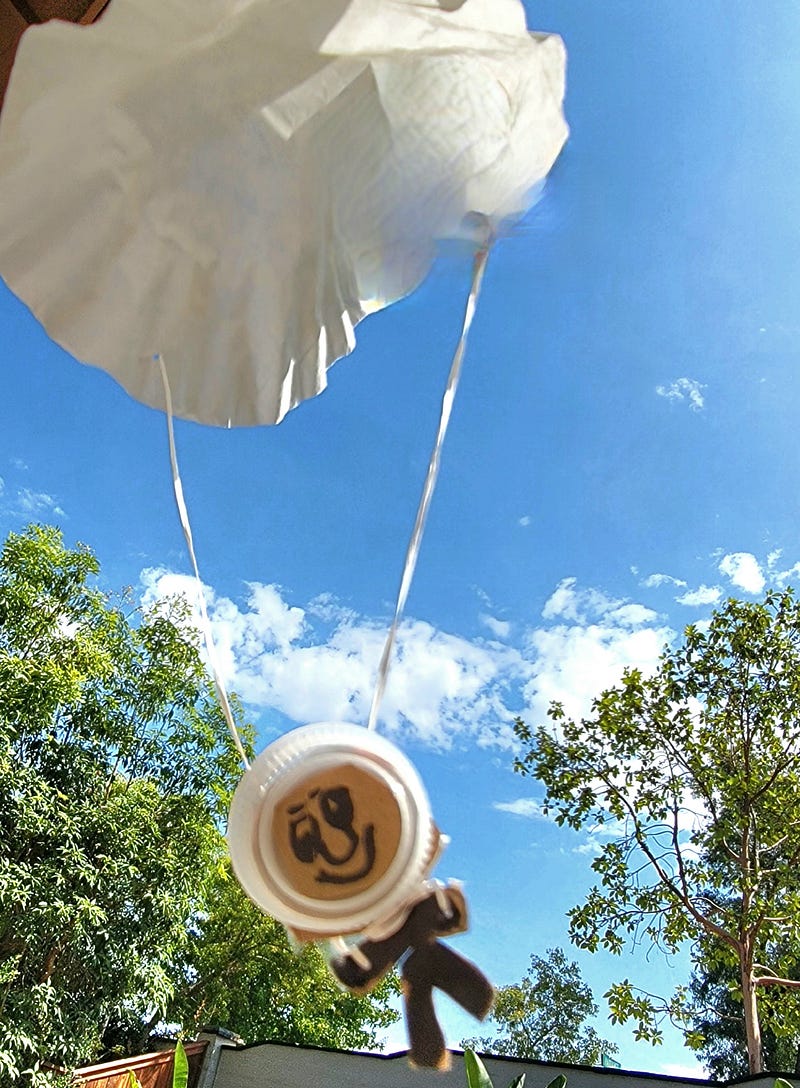
I hope you and your children enjoy this fun DIY project! Are you ready to give it a shot? We can't wait to see your creative ideas! Join us for the DIY Invention Challenge. You can find all the submission details in the article below:
Call for Submissions: The DIY Diaries Invention Challenge
Put on your thinking caps, or simply make one!
Chapter 2: Fun with Parachutes
Explore the breathtaking parachute flight captured in this video over Orange, Virginia, showcasing the beauty of DIY projects in action.
Join us for an exhilarating experience as we take flight in this parachute adventure, offering insights into the thrill of soaring through the sky.